Commercial Refrigeration Gaskets: Measuring, Profile Matching, and Material Selection
Oct 22nd 2026
Reading Time: 7 Minutes
Summary
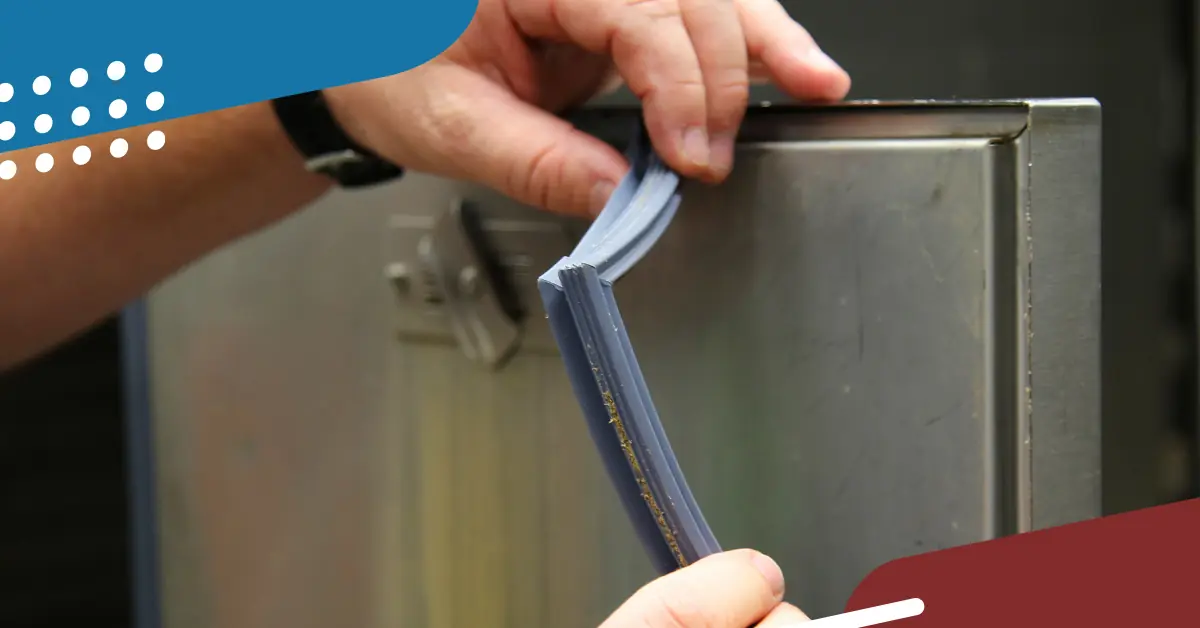
Worn or improperly fitted refrigeration gaskets can allow warm air and moisture into commercial coolers and freezers, contributing to frost buildup, longer compressor runtimes, and inconsistent cabinet temperatures.
Selecting the right replacement requires three key steps:
- Accurate Measurements: Confirm gasket dimensions using the manufacturer's required measurement method.
- Profile Matching: Identify the mounting style and cross-sectional profile to ensure proper fit.
- Material Selection: Choose a gasket material suited to the equipment's operating temperature and environment.
Refrigeration doors take constant abuse during a rush, yet a simple vinyl gasket and magnetic strip are all that protect valuable food from hot kitchen air.
Because gaskets are passive, they are easy to overlook until a warm cabinet, iced coil, or short-cycling compressor demands attention. A replacement should be a quick fix, but misordered sizes, mismatched darts, and brittle materials quickly turn simple service calls into callbacks.
Getting a clean seal on the first visit requires treating gasket replacement as a precise match. Here is how to verify measurements, mounting profiles, and materials before placing an order.
How Worn Gaskets Affect Refrigeration Performance
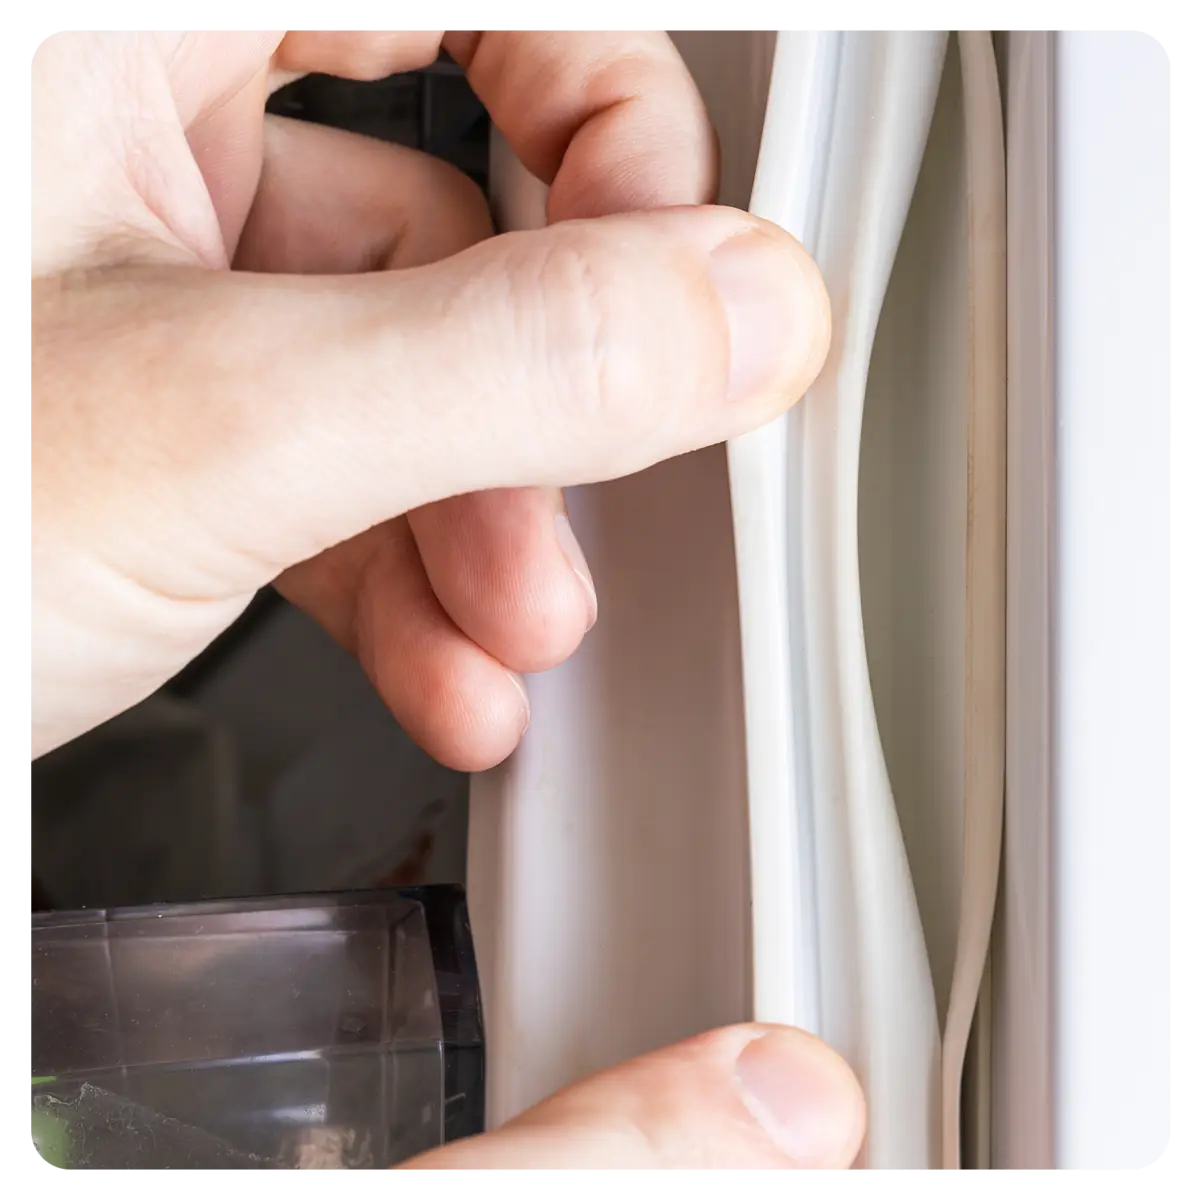
Commercial refrigeration door gaskets serve as the primary barrier against ambient thermal infiltration. In high-volume commercial kitchens, reach-in coolers, prep tables, and walk-in doors cycle open and closed hundreds of times daily.When a gasket tears, hardens, or loses magnetic retention, warm, humid air enters refrigerated cabinets, creating several compounding problems:
- Evaporator Coil Icing: Infiltrating moisture condenses and freezes directly on evaporator fins, contributing to excessive frost buildup, reduced airflow, and compromised heat transfer.
- Compressor and Component Fatigue: The additional heat load can increase compressor runtime, driving up energy consumption and accelerating wear on mechanical refrigeration components.
- Sanitation and Compliance Concerns: Split, torn, or porous gasket accordion folds trap grease, food debris,and moisture, creating sanitation concerns and potential health inspection violations.
Replacing a worn gasket is a straightforward repair, but achieving an airtight seal depends on precise field measurement, correct cross-sectional profile identification, and appropriate material selection.
Step 1: Taking Accurate Field Measurements
A common field error is attempting to measure a removed, brittle gasket after it has been stretched or warped during removal. Vinyl gaskets can stretch out of square, sag, or contract over years of service.
Follow these measurement practices before ordering:
Common Gasket Measurement Reference Points:
| Reference Points | Measurement |
|---|---|
| Outside Edge to Outside Edge | Tip-to-Tip |
| Dart Center to Dart Center | Dart-to-Dart Dimension |
| Height | Height |
- Confirm the Measurement Method: Depending on the gasket profile and manufacturer, replacement dimensions may be specified as outside edge to outside edge (tip-to-tip) or dart-to-dart (groove-to-groove). Measure the existing gasket while installed when possible, and verify the required measurement convention before ordering.
- Measure the Retaining Channel: If the existing gasket is missing, damaged, or severely deformed, measure directly from the center of the door's retaining channel groove to establish dart-to-dart dimensions where applicable.
- Verify Three-Sided vs. Four-Sided Configuration: Reach-in cabinets and prep tables typically use four-sided magnetic gaskets. Walk-in doors frequently use three-sided magnetic gaskets with a heavy-duty mechanical sweep wiper along the bottom threshold.
- Check Door Alignment: Measure diagonally corner-to-corner across the door frame. Door sag or worn hinges can prevent a properly sized replacement gasket from making uniform contact with the cabinet face.
Step 2: Matching the Mounting Profile
Refrigeration gaskets are defined by their cross-sectional profile. The base attachment method anchors the gasket to the door liner, while the flexible bulb houses the magnetic strip that seals against the steel cabinet face.
| Profile Mounting Style | Retention Mechanism | Common Equipment Applications | Installation Notes |
|---|---|---|---|
| Push-In (Dart Style) | An engineered barbed dart presses into a molded channel in the door liner. | Common on modern commercial reach-in coolers and freezers (e.g., True, Continental, Turbo Air). | Seat the four corners firmly into the channel first, then work toward the center of each side to prevent stretching the vinyl. |
| Snap-In (Arrowhead) | An angled, flexible arrow base snaps into an extruded retainer track. | Reach-in cabinets, undercounter prep tables, beverage merchandisers. | Clear food debris and ice from the track; press into place with even thumb pressure or a smooth roller tool. |
| Screw-On (Flange Style) | A rigid metal or plastic retaining strip clamps the gasket flange to the door with screws. | Walk-in cooler doors, legacy reach-in equipment, sliding cold-storage doors. | Loosen retaining strip screws around the perimeter; avoid overtightening during replacement to prevent puckering the bulb. |
Field Note: When the equipment model number is missing or illegible, cut a small cross-section sample from a damaged section of the old gasket. Compare the dart depth, barb shape, overall thickness, and magnet chamber position against cross-reference profile charts.
Step 3: Material Selection and Operating Environment
Selecting the correct gasket elastomer helps ensure the seal remains flexible under continuous thermal cycling and cleaning protocols:
Standard Flexible PVC (Vinyl)
Flexible PVC is the most common material used in commercial refrigeration door gaskets due to its balance of flexibility, durability, and cost efficiency. Performance depends on the specific formulation and operating conditions.Over time, continuous exposure to grease, animal fats, and incompatible cleaning chemicals can leach out plasticizers,contributing to hardening, cracking, or loss of sealing performance along high-contact door edges.
Specialty Elastomers (TPV and EPDM)
Specialty materials such as thermoplastic vulcanizates (TPV) and EPDM compounds may offer advantages in applications requiring additional low-temperature flexibility or resistance to harsh environmental conditions. In walk-in freezers and low-temperature cabinets operating in sub-zero environments, these compounds help resist embrittlement and maintain a reliable seal. Verify rated temperature limits and equipment requirements before selecting specialty materials.
Field Installation and Seating Protocol
Even a properly sized replacement gasket will fail to seal if installed with twists or kinks:
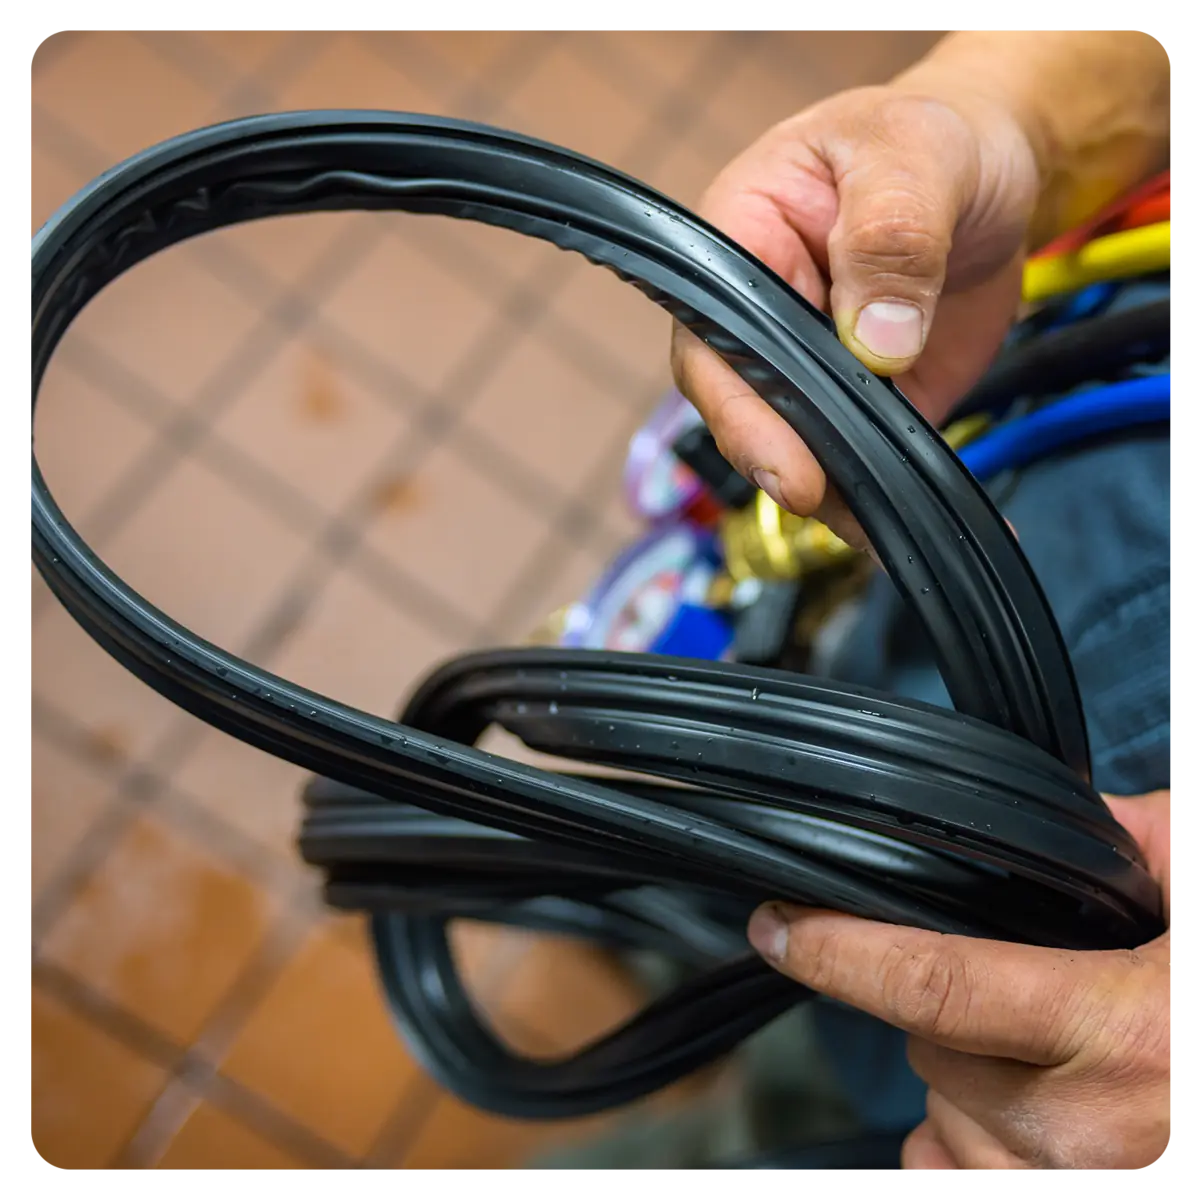
- Pre-Installation Conditioning: Gaskets may retain folds or distortions from compact shipping packaging. Allow the gasket to reach room temperature before installation. If additional conditioning is required, follow the manufacturer's approved warming instructions to restore flexibility and relax packaging memory.
- Channel Preparation: Thoroughly clean the door retaining track with warm water, mild detergent, and a nylon brush. Remove old food debris, scale, or adhesive residue that could prevent the dart from fully seating.
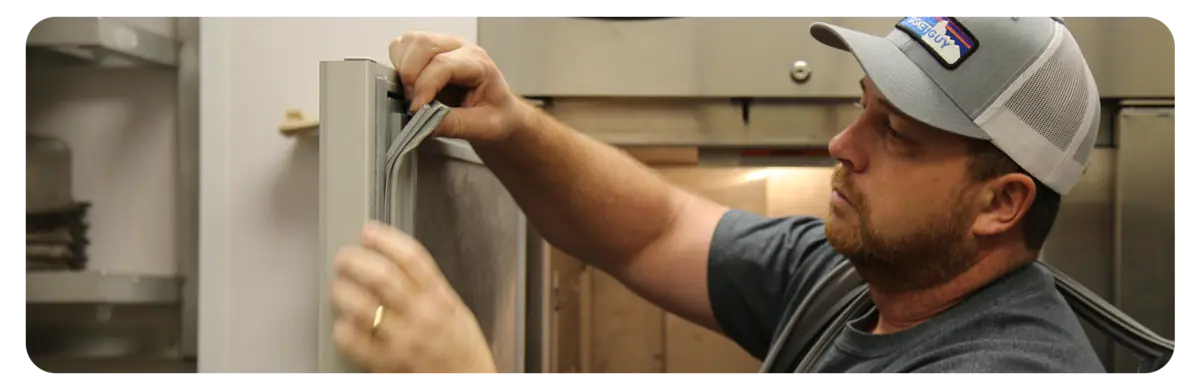
- Corner-First Seating: Press the four pre-welded corners firmly into the door channel first. Once the corners are anchored, work inward toward the center of each run. Never stretch the gasket along the run, which creates bunching at the opposite end.
- Checking the Perimeter Seal: Close the door and inspect the entire perimeter for visible gaps. Slide a dollar bill or strip of paper between the magnetic seal and cabinet face. The seal should provide reasonably consistent resistance around the perimeter. If resistance is uneven, check door hinge adjustment and verify that the gasket is seated evenly in its channel.
Pre-Ordering Sourcing Checklist

Frequently Asked Questions
Why does a newly installed refrigeration gasket leave a visible gap at the corners?
Corner gaps typically occur when the door hinges are misaligned, the gasket was stretched lengthwise during installation, or the material retains packaging memory. Ensure the gasket was seated corner-first, verify door squareness, and follow manufacturer-approved warming procedures to allow the magnetic strip to draw flush against the cabinet frame.
How often should commercial refrigeration gaskets be replaced?
Inspect refrigeration door gaskets regularly as part of scheduled preventive maintenance. Replacement frequency depends on door-opening frequency, kitchen heat and grease exposure, cleaning chemicals used, and gasket material.Replace gaskets when they show visible signs of cracking, tearing, hardening, poor magnetic retention, or an inability to maintain a consistent seal.
What is the recommended way to clean refrigeration door gaskets?
Clean gaskets using mild dish soap, warm water, and a soft cloth, followed by thorough drying. Avoid harsh chlorine bleach, undiluted citrus degreasers, and abrasive pads, which strip protective plasticizers from vinyl gaskets and accelerate hardening and cracking.
Find the Right Gasket for the Job
The right refrigeration gasket starts with accurate measurements, a compatible mounting profile, and a material suited to the application. AllPoints helps you source OEM replacement gaskets and compatible OCM alternatives for the commercial refrigeration equipment you service.